
Swap a SIM in a cellular robot
Insert a new SIM, reboot its slot, and let the platform transfer the number, the settings and the monitors of the card it replaces.
The number you type at the end of this procedure decides everything. Type one that another SIM in your workspace already holds, and the platform offers to hand that card's settings and monitors over to the new SIM. Type a number nobody has used, and you set the SIM up yourself. Seating the card is the easy half: until the platform has a number, the SIM stays Unnamed and runs nothing.
Every cellular robot works this way, 4G or 5G, whatever generation it belongs to. Web and smartphone robots have no SIM to swap.
Before you start
- Physical access to the robot.
- A SIM ejector tool on a 4G robot.
- Access to the Equipments area of the platform.
- The number of the card you're replacing, if the new one takes over its tests.
A SIM card used in a robot must be configured without a PIN code. A locked SIM stops at the PIN REQUIRED status and runs nothing.
The robot stays powered on. Slots are hot-swappable.
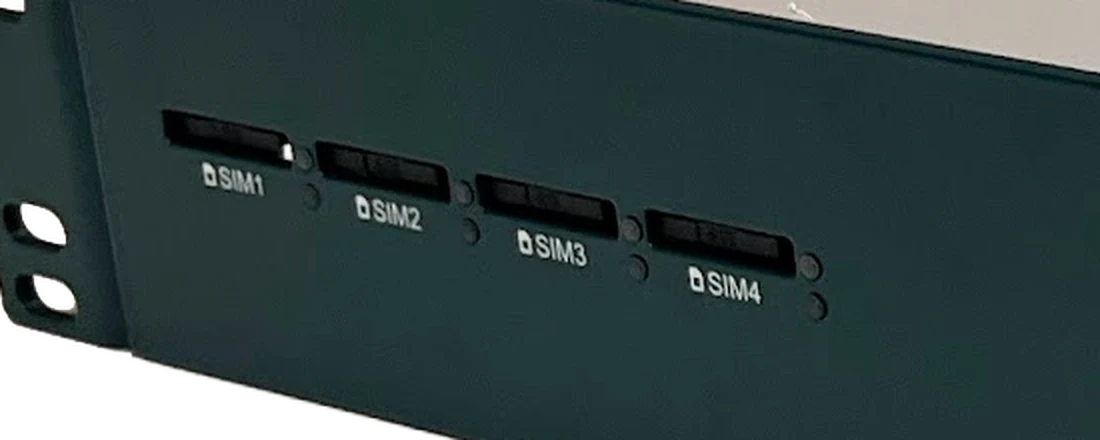
Take out the card that's in there, if any, then fit the new one. On a 5G robot, push the SIM into its slot until it clicks. On a 4G robot, eject the tray first: press the button at its top right corner with the ejector tool, drop the SIM in, then slide the tray back. Install a robot has photographs of each, for 5G and for 4G.
Note the number printed beside the slot, SIM1, SIM2, and so on. It matches the Slot column in the platform.
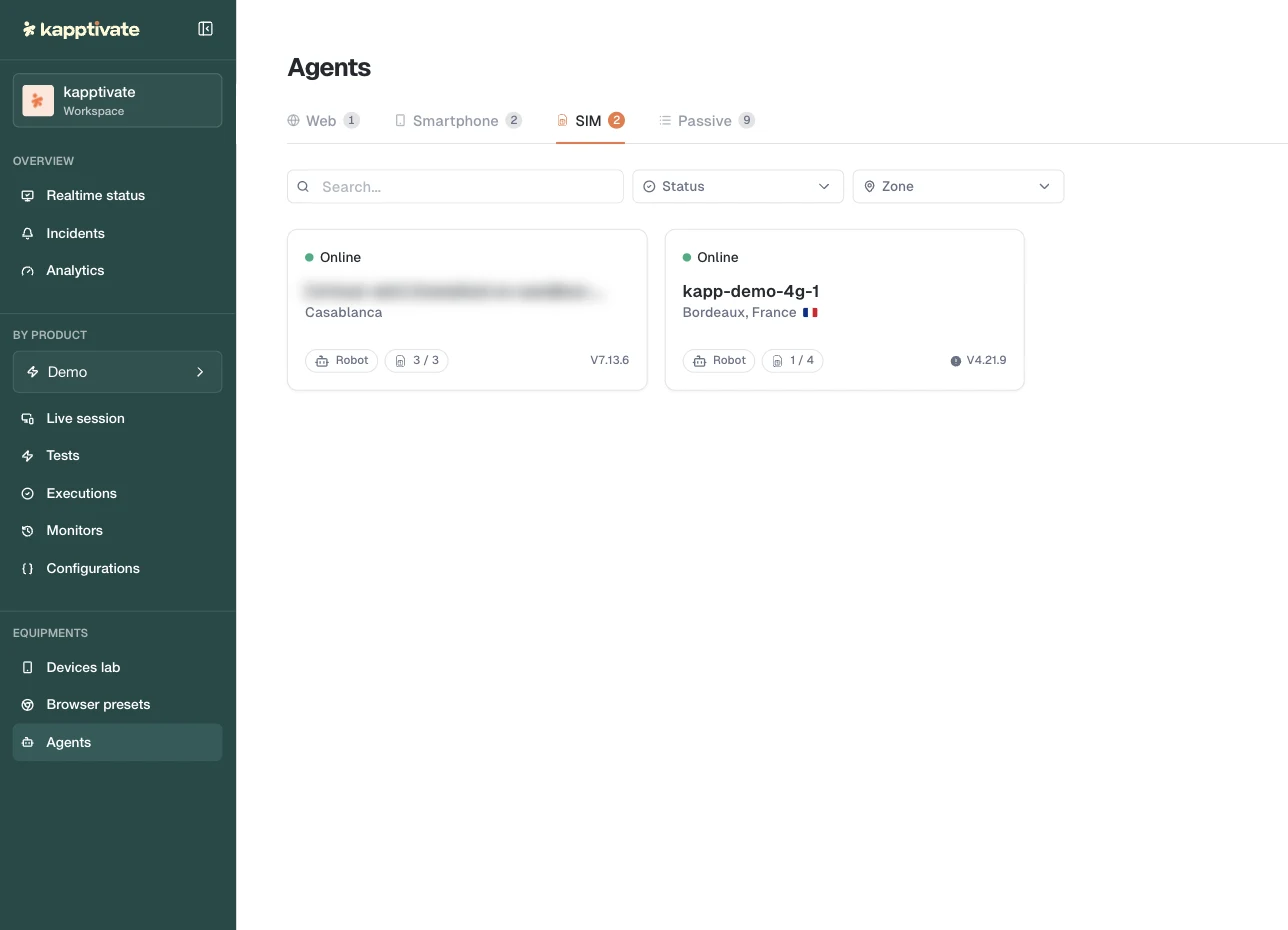
Under Equipments, open Agents, where the platform lists your robots. Open the SIM tab, then find the robot by hostname or narrow the list with the Status and Zone filters.
Open the robot, then go to its Connected devices tab.
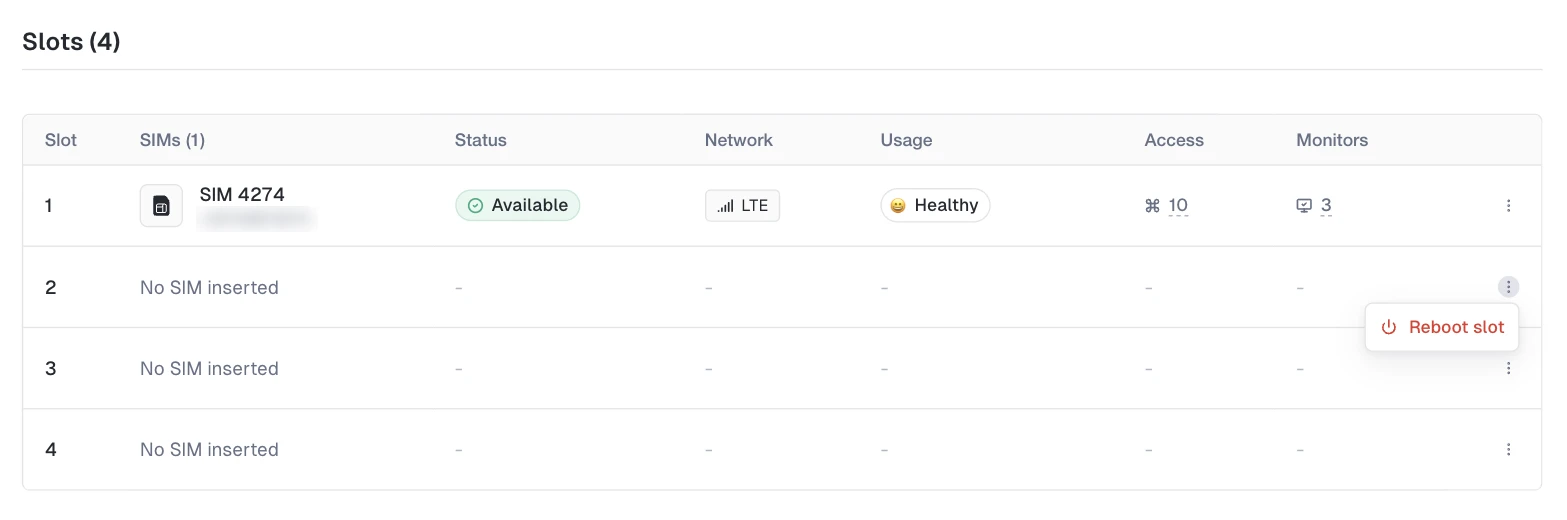
Your slot still reads No SIM inserted, and that's expected. Pulling the old card out removed it from the platform there and then, and nothing brings the new one in but a slot reboot.
Open the three-dot menu on that row, then click Reboot slot, the one action an empty slot offers.
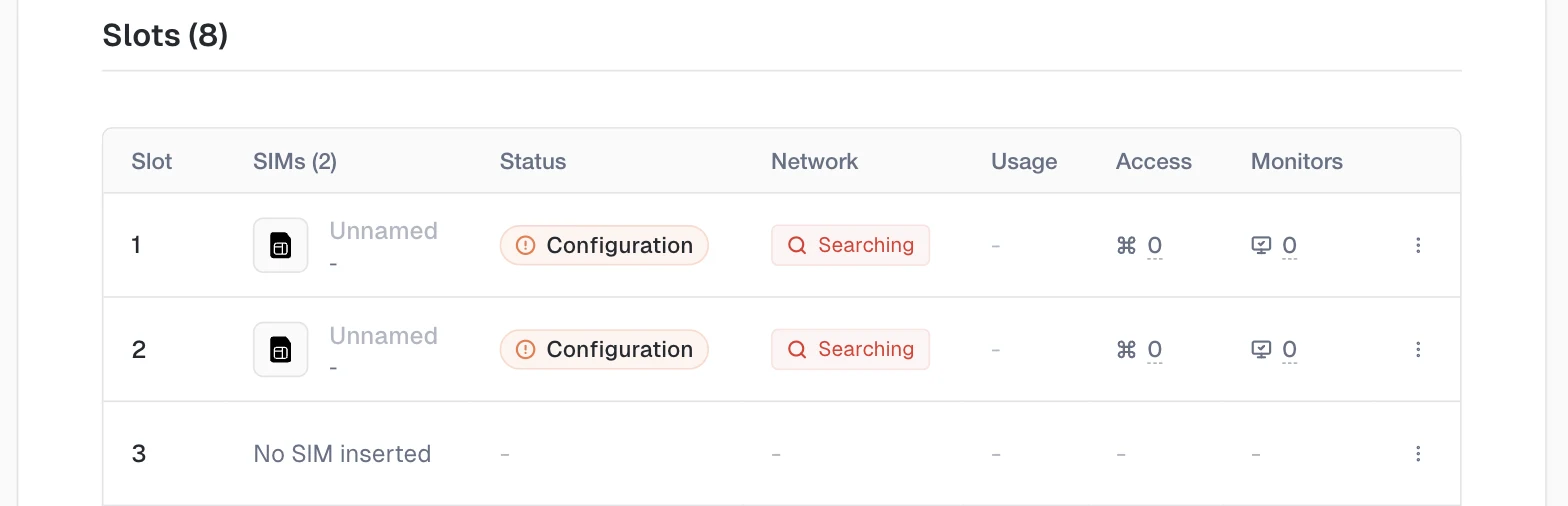
The slot detects the card and lists it as Unnamed, with the status Configuration. Don't wait for it to register on the network before you give it its number; registration can take a few more minutes.
Click the SIM to open its page, then open the Settings tab. Fill in the National MSISDN. The International MSISDN field is optional.
Leave Name empty: the SIM's name comes from the number. Click Save changes.
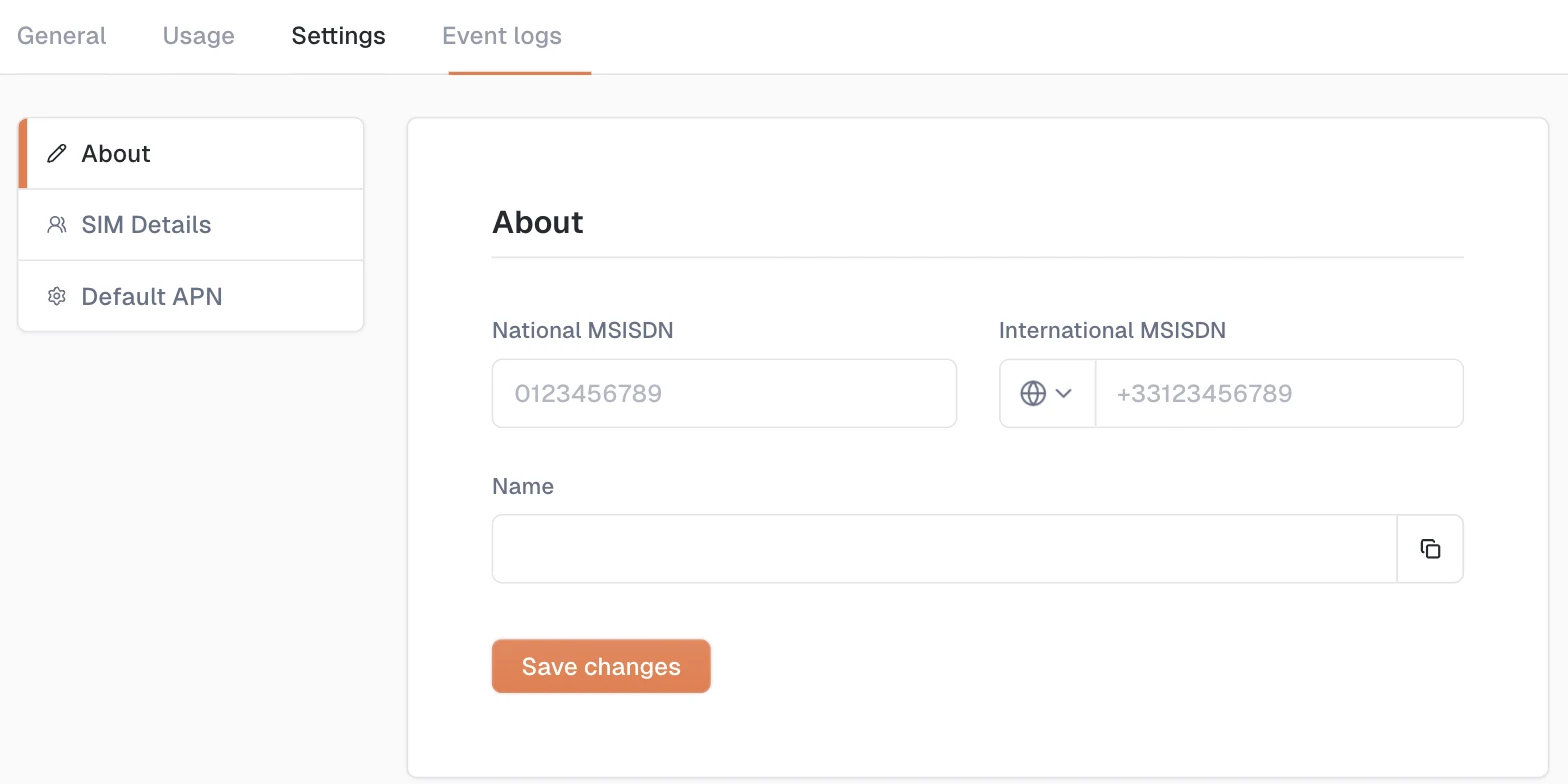
That click is the fork in the road. A Swap SIM values? dialog means the number was already taken, so carry on with reuse the number of the card you replaced. No dialog, and the number is yours alone: go to set up a new number.
Reuse the number of the card you replaced
This is for a card that was already running tests. The new one inherits its work.
The dialog opens because the number you just saved still belongs to the old SIM.
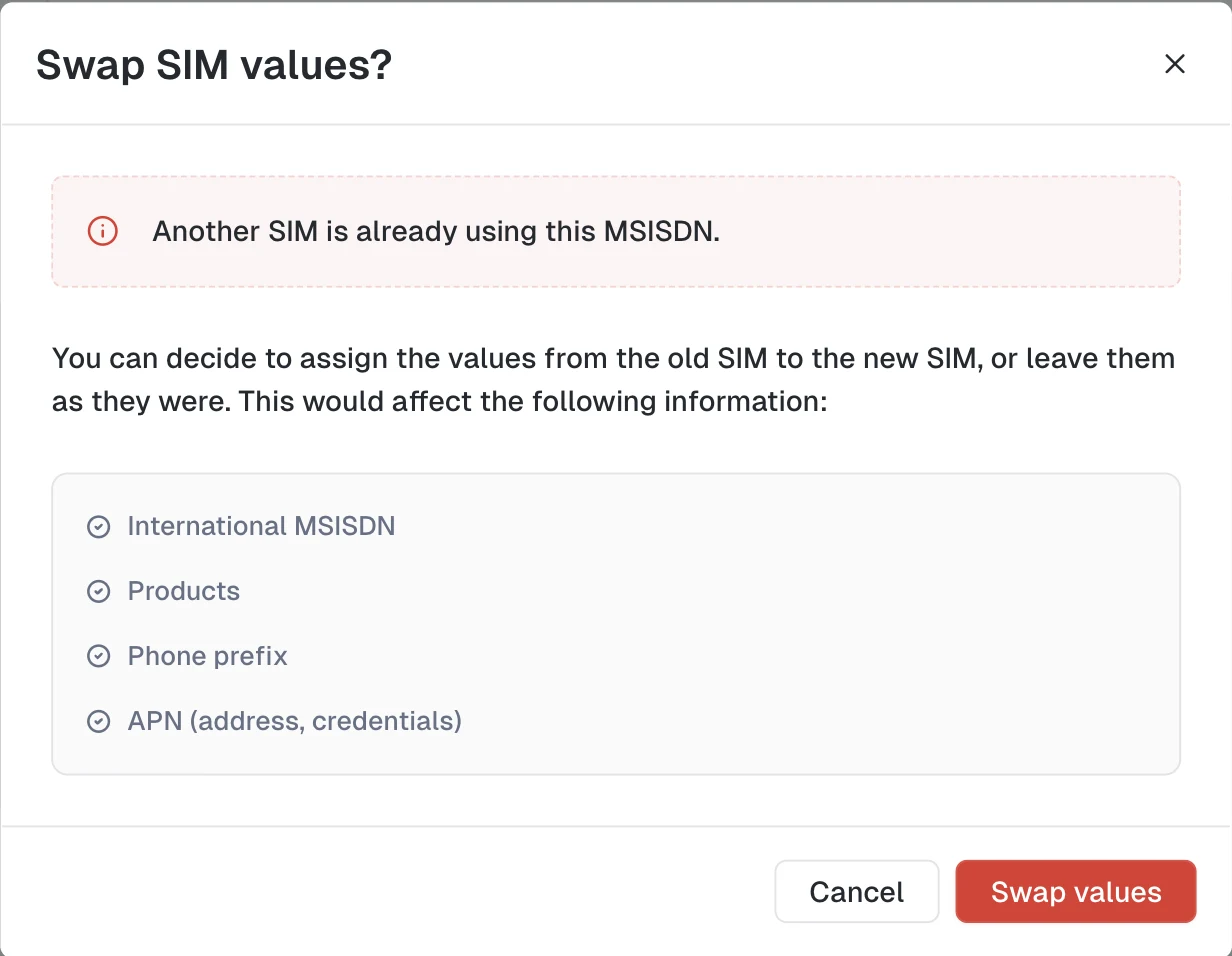
Click Swap values and the whole set moves at once: International MSISDN, Products, Phone prefix, and the APN land on the new card, and the monitors that ran on the old one resume on the new one. Nothing else to configure.
Cancel leaves both SIMs as they were.
Set up a new number
A brand new number arrives bare. Two things get it ready for a test run: the products allowed to use it, and an access point to go out through. Both live on the SIM's own page.
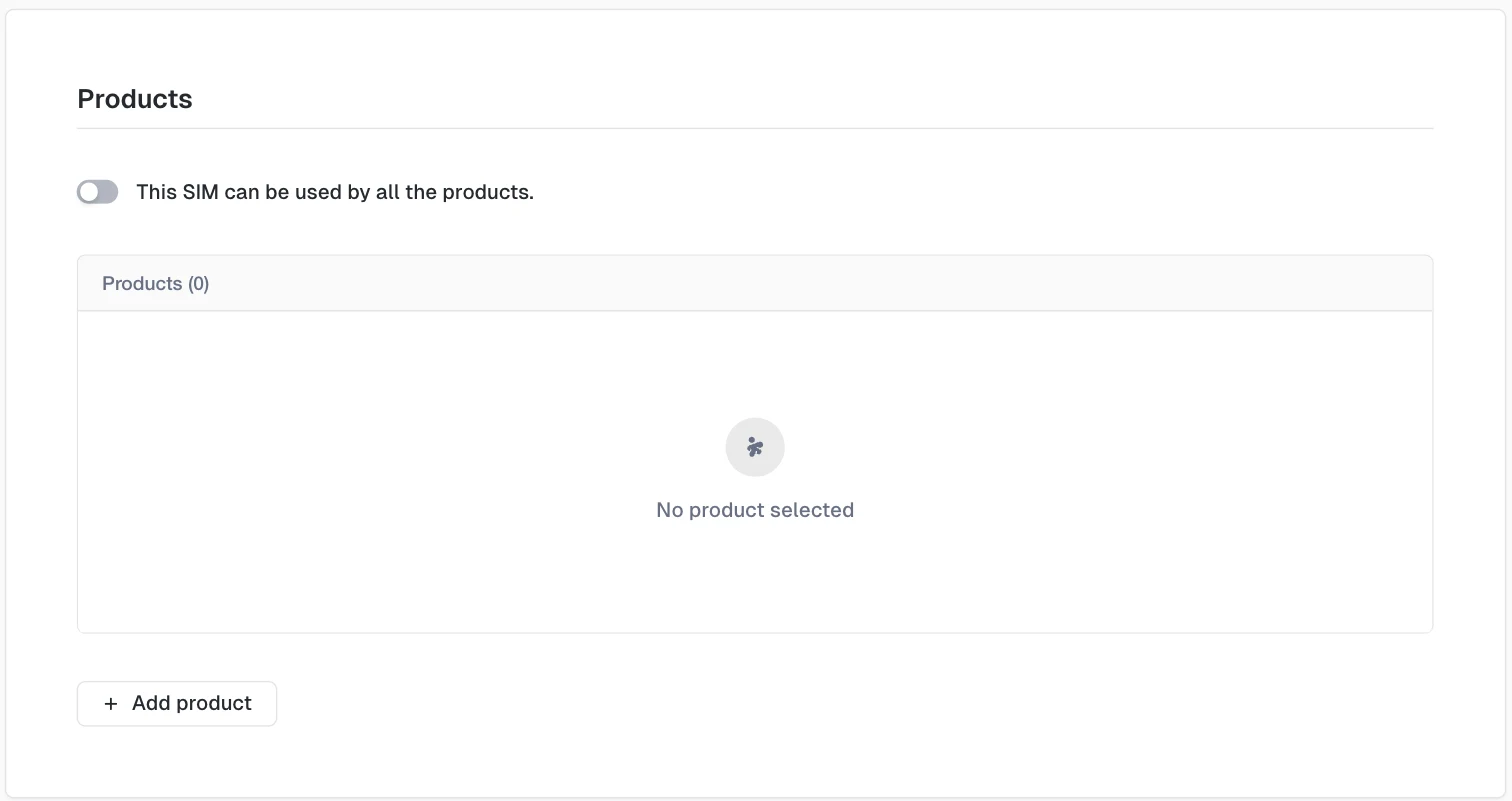
Open the SIM's General tab and go to Products. Turn on This SIM can be used by all the products and any product can use it.
For a shorter list, leave the toggle off and click Add product. Tick what you need in the dialog, then click Add, which is what saves the selection.
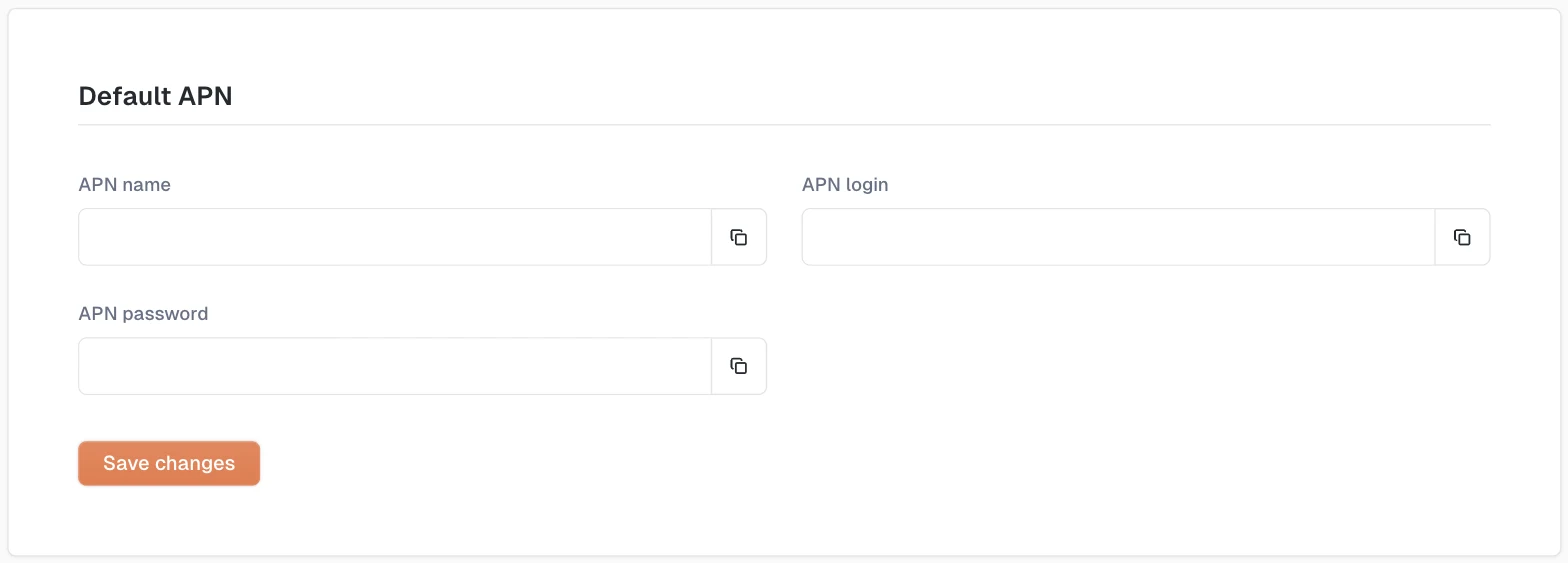
Then head back to Settings and fill in the Default APN. Click Save changes.
Check that the SIM is in service
The robot's Slots table tells you when the swap is done. The SIM now carries a name built from its number, its status has moved from Configuration to Available, and the Network column has left Searching for the technology the card registered on, LTE for instance. Statuses lists every one of these.
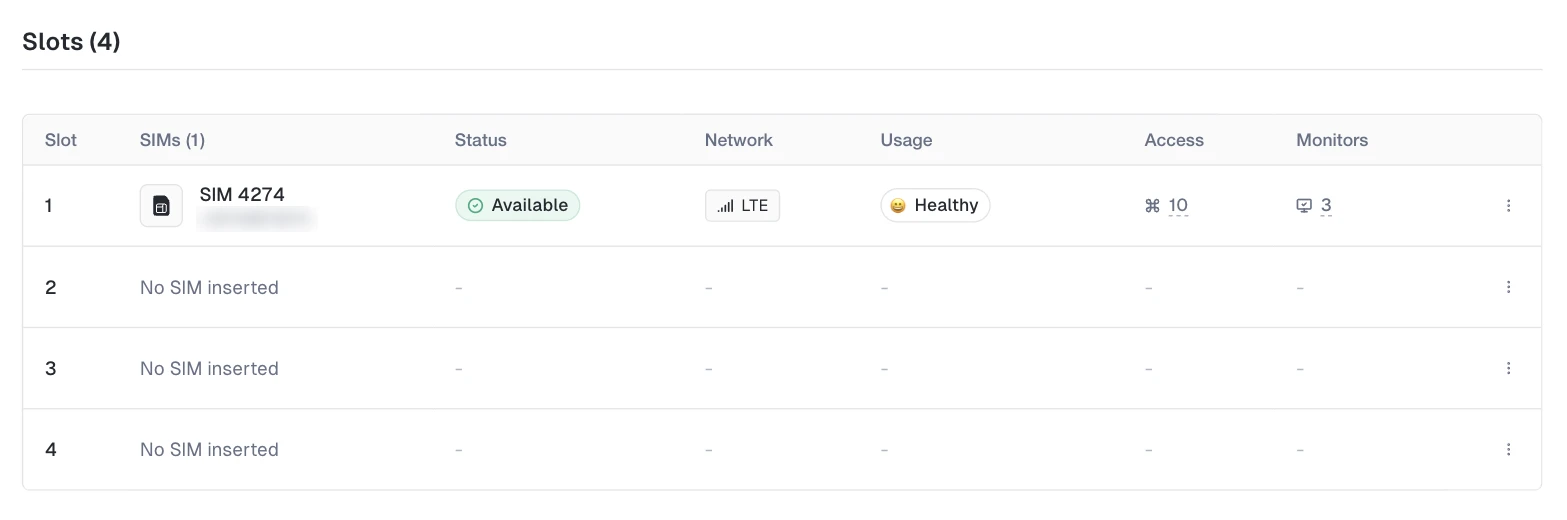
Ten minutes on Searching is a fault, not a wait. Work through SIM cards troubleshooting.
What's next?
Last updated on